Calgary Market Updates

CALGARY REAL ESTATE

What's changing in Calgary real estate and what it means for buyers and sellers.

Latest Blog Posts

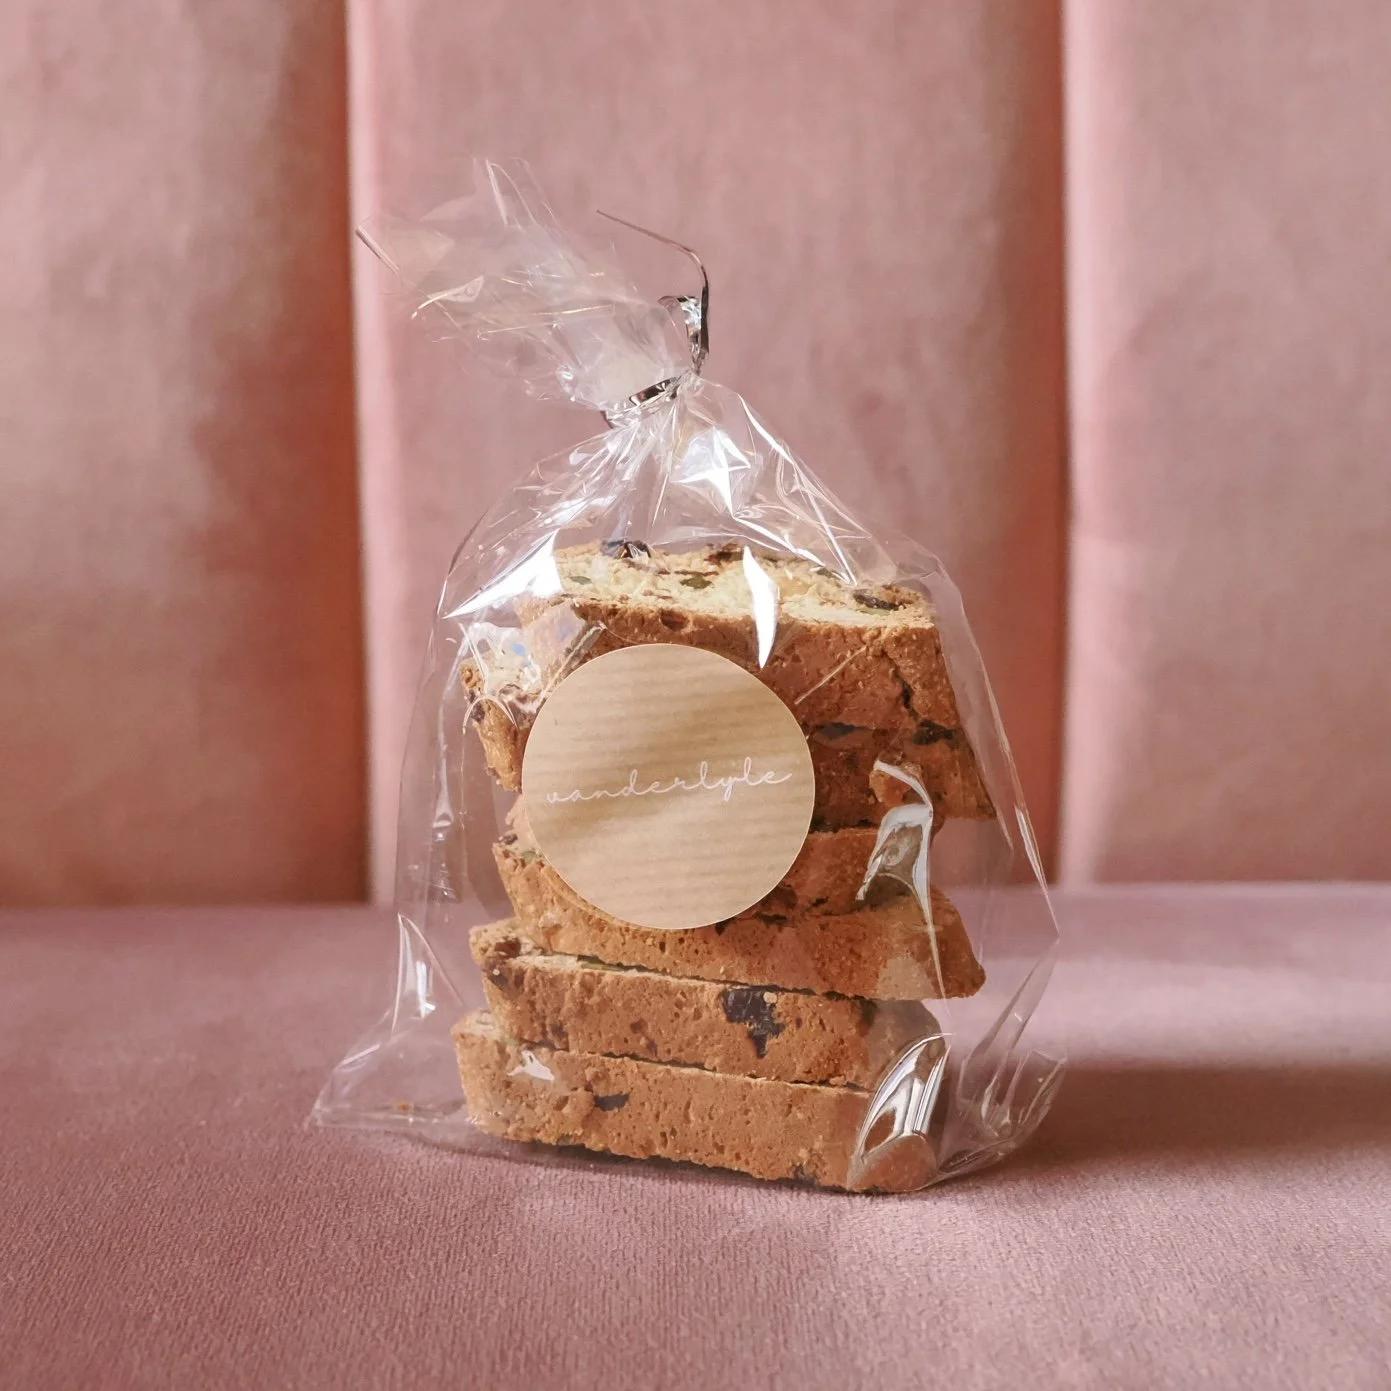
From My Kitchen: Cranberry, Orange & Pistachio Biscotti
Around the Kitchen Island

From My Kitchen: Cranberry, Orange & Pistachio Biscotti

Make festive cranberry, orange and pistachio biscotti with this easy homemade recipe. Perfect for Christmas baking, holiday gifts and ...

READ POST
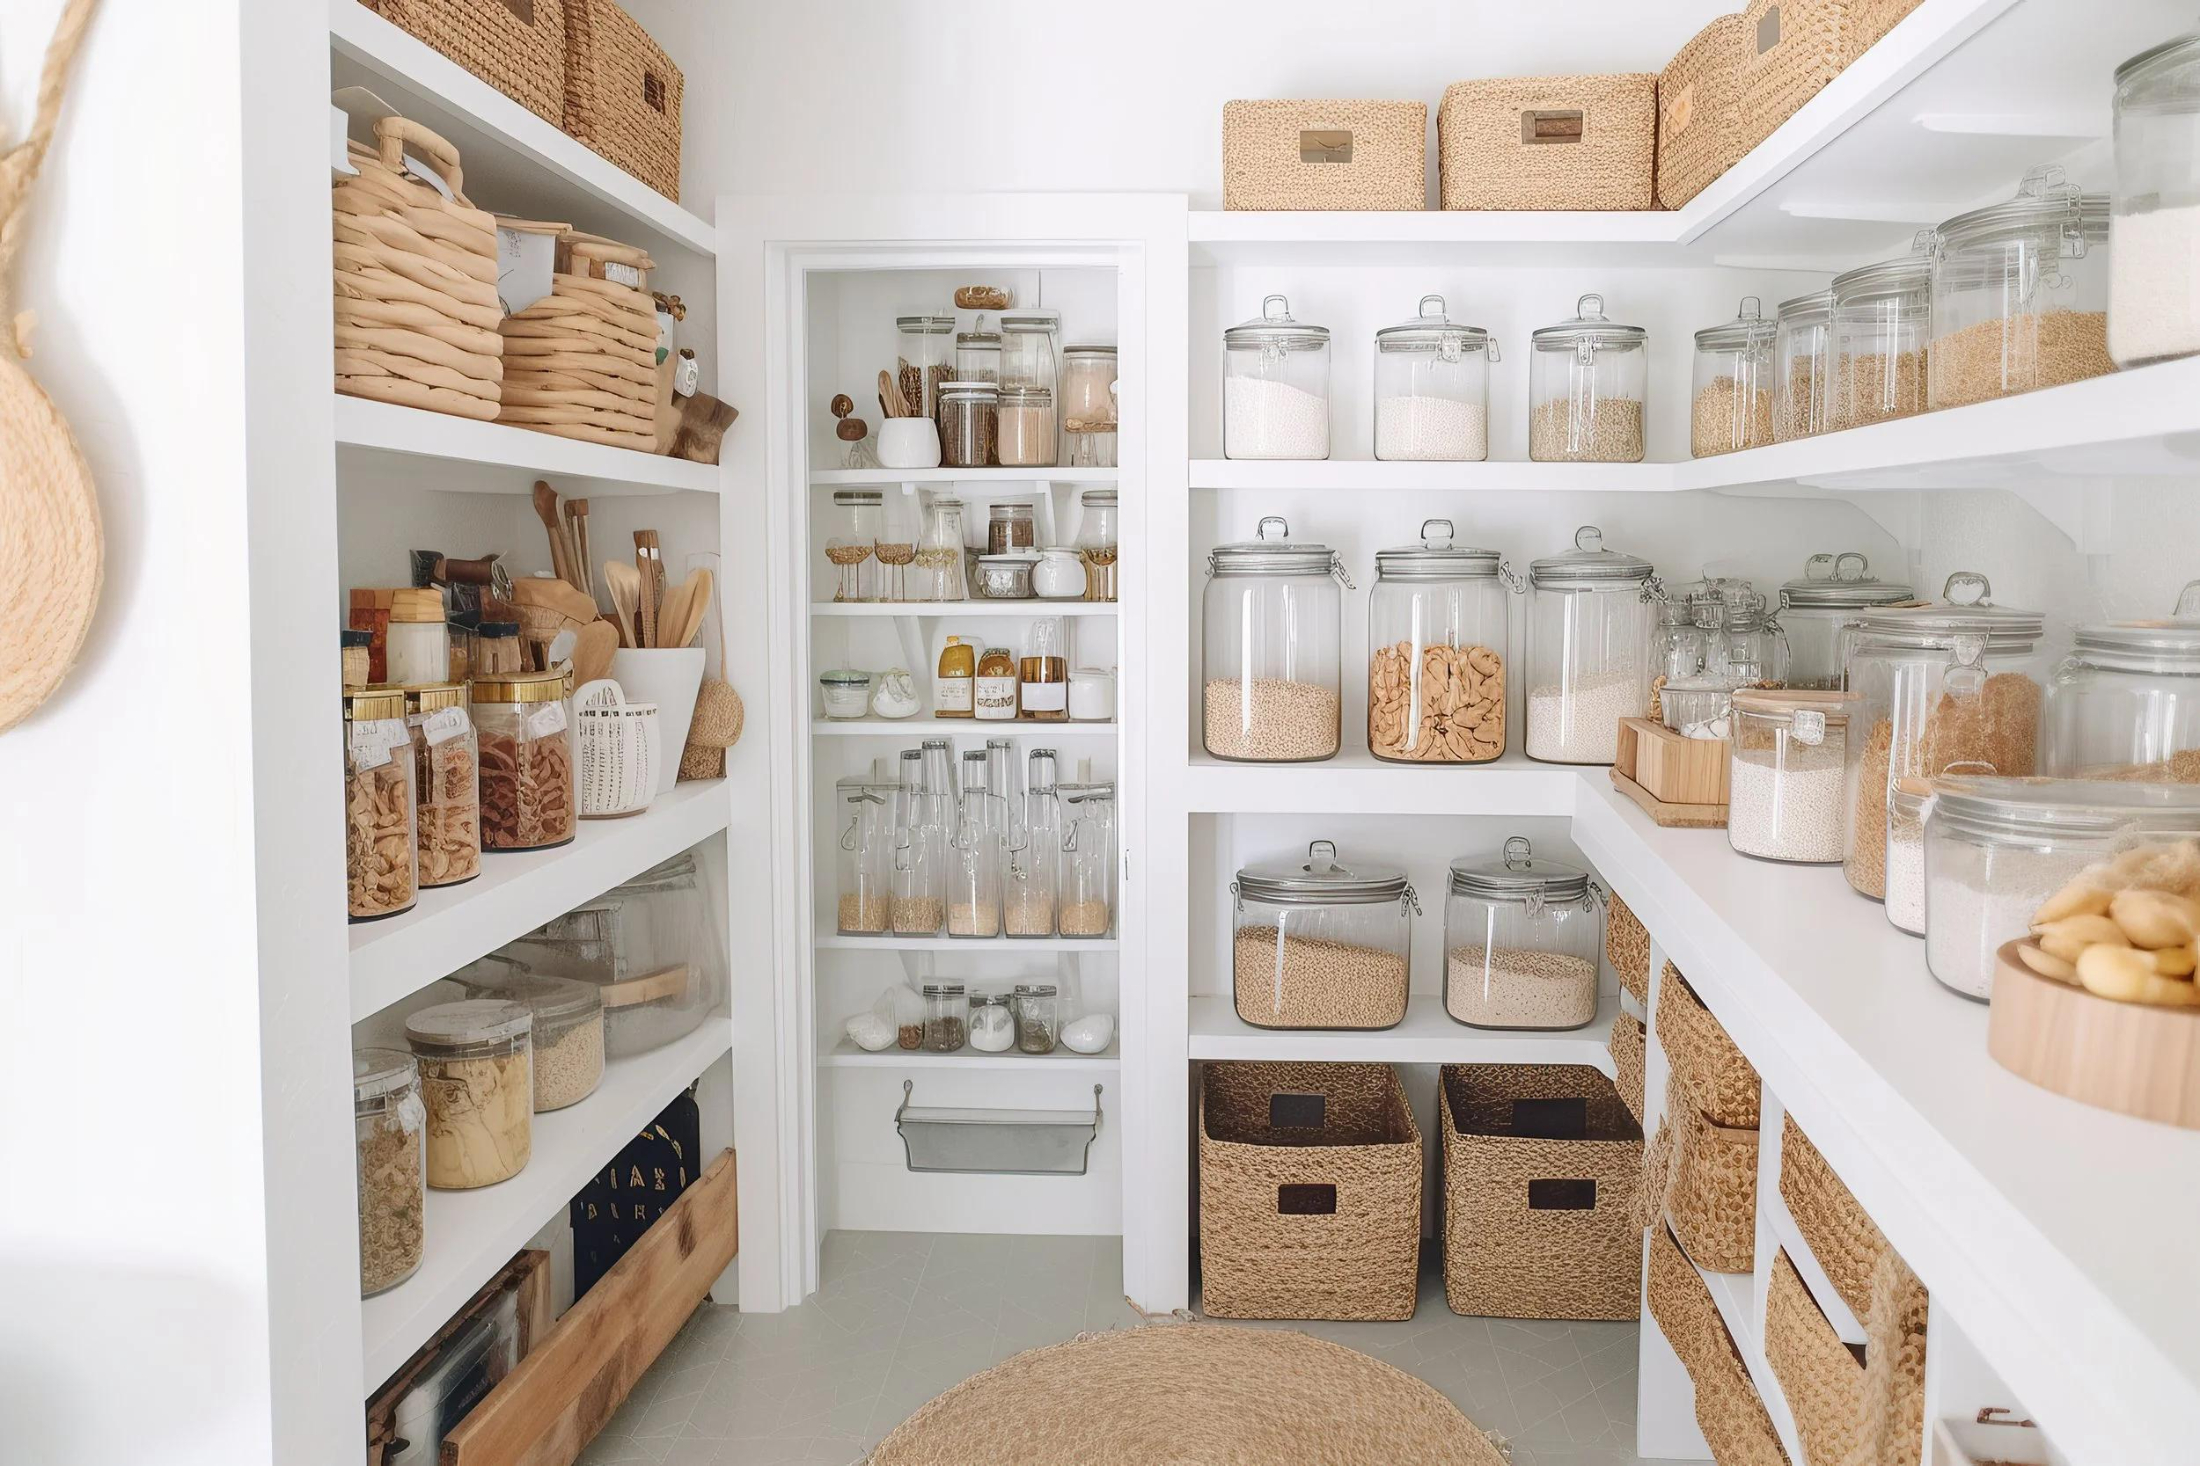
The Pre-Christmas Declutter: Five Spaces Worth Tackling Now
Around the Kitchen Island

The Pre-Christmas Declutter: Five Spaces Worth Tackling Now

Get your home ready for the holidays with five simple spaces to declutter before Christmas. Practical organizing tips for a less stressful December.

READ POST
Who’s Involved When You Buy a Home in Calgary?
Real Estate Blog

Who’s Involved When You Buy a Home in Calgary?

Buying a home in Calgary involves more than a buyer and seller. Learn what your Realtor, mortgage professional, lawyer, inspector and ...

READ POST
Should You Buy or Sell First?
Real Estate Blog

Should You Buy or Sell First?

Should you buy your next home before selling your current one? Learn the pros, risks and timing considerations for Calgary homeowners planning a move.

READ POST
RSS

From My Kitchen: Cranberry, Orange & Pistachio Biscotti

There's something about Christmas baking that makes the season feel like it's officially begun.

Maybe it's the smell of something baking in the oven, the Christmas music playing in the background, or the collection of containers that slowly starts taking over the kitchen counters.

Whatever it is, I love the tradition of making something homemade during the holidays.

This year, I've got cranberry, orange, and pistachio biscotti on my Christmas baking list, and I thought I'd share the recipe here.

If you've never made biscotti before, don't let the name intimidate you. They're surprisingly straightforward, they keep beautifully, and they look lovely packaged up as a little homemade gift.

Plus, the combination of red cranberries, green pistachios, and fresh orange zest feels perfectly suited to Christmas.

Cranberry, Orange & Pistachio Biscotti

Prep time: 20 minutes
Bake time: Approximately 45–55 minutes, plus cooling
Makes: Approximately 24 biscotti

Ingredients

  • 2 cups all-purpose flour

  • 1 teaspoon baking powder

  • ¼ teaspoon salt

  • ¾ cup granulated sugar

  • ½ cup unsalted butter, softened

  • 2 large eggs

  • 1 teaspoon vanilla extract

  • Zest of 1 large orange

  • ¾ cup dried cranberries

  • ¾ cup shelled, unsalted pistachios, roughly chopped

Optional finishing touch:

  • ½ cup white chocolate melting wafers or chopped white chocolate

Instructions

1. Preheat your oven.

Preheat your oven to 350°F (175°C) and line a large baking sheet with parchment paper.

2. Combine the dry ingredients.

In a medium bowl, whisk together the flour, baking powder, and salt. Set aside.

3. Mix the butter and sugar.

In a large bowl, beat the softened butter and sugar until light and creamy. Add the eggs one at a time, followed by the vanilla and orange zest.

4. Bring everything together.

Gradually mix the dry ingredients into the wet ingredients until a soft dough forms. Fold in the dried cranberries and chopped pistachios.

The dough will be slightly sticky. That's perfectly normal.

5. Shape and bake.

Divide the dough into two equal portions and shape each into a log approximately 10 inches long and 2½ inches wide.

Place the logs on your prepared baking sheet, leaving space between them.

Bake for 25–30 minutes, or until lightly golden and firm to the touch.

6. Cool and slice.

Remove the baking sheet from the oven and allow the logs to cool for approximately 15–20 minutes.

Reduce the oven temperature to 325°F (165°C).

Using a sharp serrated knife, carefully slice each log diagonally into pieces approximately ¾ inch thick.

7. Bake again.

Place the slices cut-side down on the baking sheet and return them to the oven for 10–12 minutes.

Flip each piece and bake for another 8–12 minutes, until the biscotti are lightly golden and crisp.

They'll continue to firm up as they cool.

8. Add a little something extra.

Once the biscotti have cooled completely, you can drizzle or dip one end in melted white chocolate.

It's entirely optional, but it does make them look particularly lovely for gifting.

Allow the chocolate to set completely before packaging or storing.

A Few Tips for Making Biscotti

Don't rush the cooling time. Letting the baked logs rest before slicing helps prevent them from crumbling.

Use a serrated knife. A gentle sawing motion works much better than pressing straight down through the biscotti.

Adjust the crunch. If you like your biscotti a little softer, shorten the second bake slightly. If you prefer a traditional crisp biscotti that's perfect for dipping into coffee, give them a few extra minutes while watching that they don't brown too much.

Make them ahead. Once completely cooled, store your biscotti in an airtight container at room temperature for approximately one to two weeks, or freeze them for longer storage.

A Little Homemade Christmas Gifting

One of my favourite things about biscotti is how nicely they work as a homemade gift.

They don't need refrigeration, they're sturdy enough to package, and a few pieces tied up with ribbon make a thoughtful little gesture.

For Christmas, I love the idea of placing three or four biscotti in a clear food-safe sleeve, tying it with a pretty velvet ribbon, and adding a small holiday tag.

Nothing elaborate. Just something homemade that someone can enjoy with their morning coffee or afternoon tea.

And if you're making a batch for yourself, I'd strongly recommend setting a few aside before packaging the rest.

They have a funny way of disappearing from the kitchen counter.

From My Kitchen to Yours

I think some of the nicest Christmas traditions are the simplest ones.

A familiar recipe, an afternoon in the kitchen, or dropping off a little something homemade for someone you care about.

It doesn't have to be expensive or complicated to be meaningful.

If you give these cranberry, orange, and pistachio biscotti a try, I'd love to hear how they turn out. And if you have a Christmas baking recipe that makes an appearance in your kitchen every year, I'd love to hear about that, too.


Read

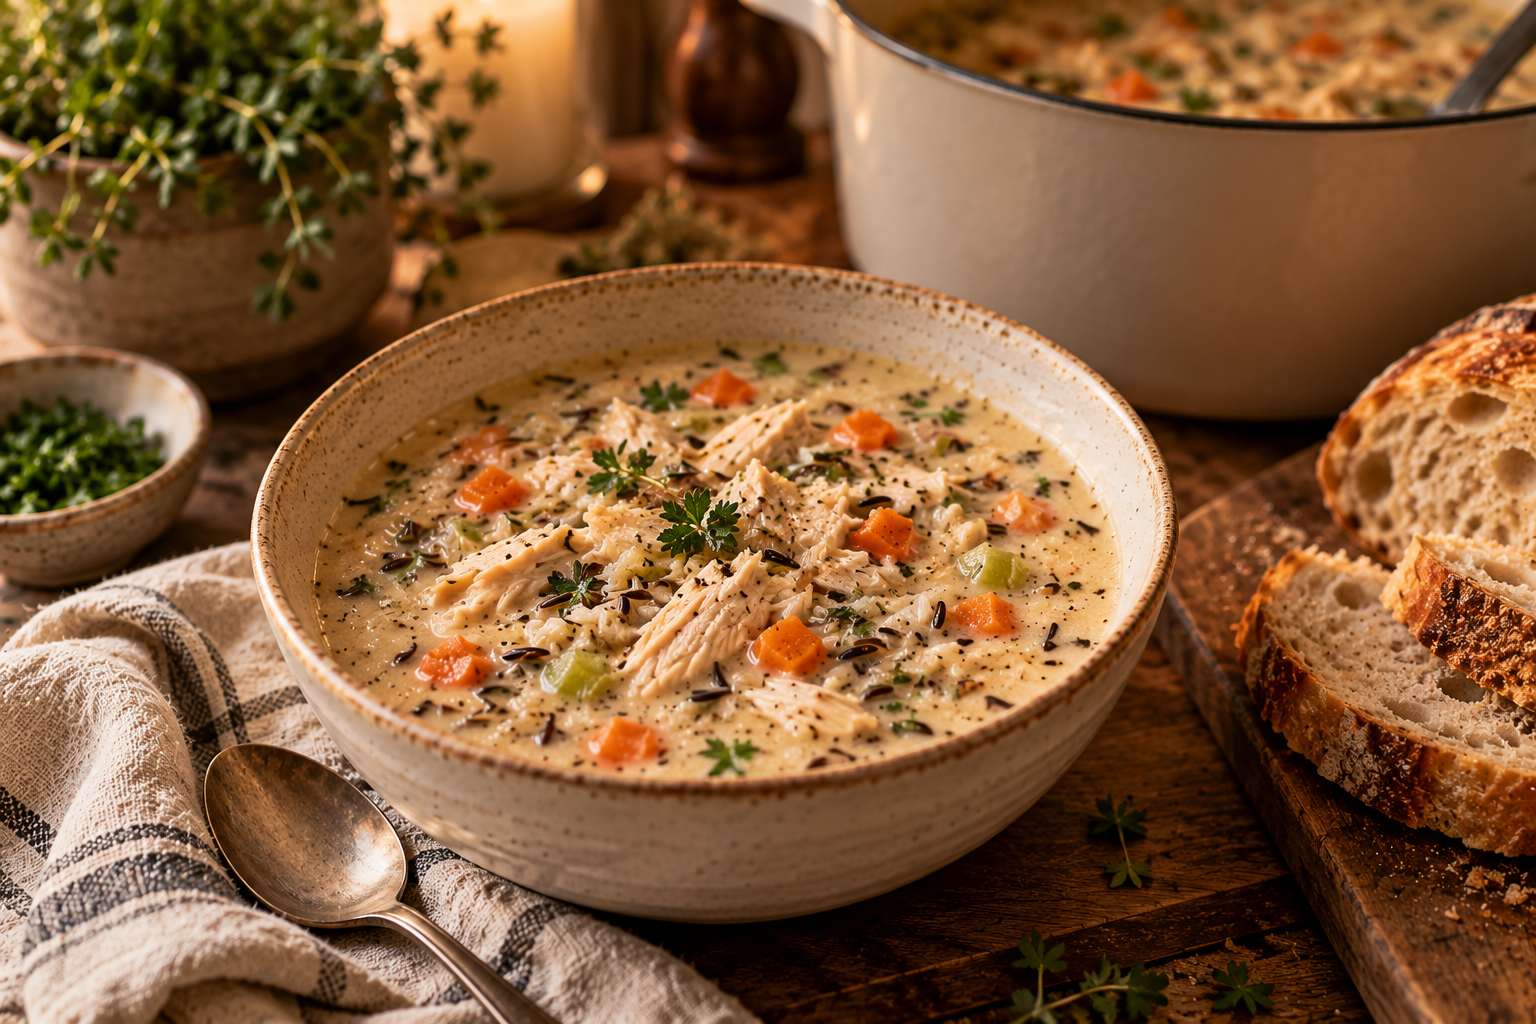
Soup Season Is Here: Creamy Chicken & Wild Rice Soup

There's something about the first really chilly stretch of fall that makes me want to abandon every dinner plan I've made and put a big pot of soup on the stove instead.

Maybe it's the colder evenings, the shorter days, or the fact that soup requires very little effort once everything is in the pot. Whatever the reason, I'm fully embracing soup season.

And while I love a good classic chicken noodle, there's something especially comforting about a creamy chicken and wild rice soup. It's hearty enough to count as dinner, full of vegetables, and even better with a big piece of crusty bread on the side.

It's also one of those meals that makes the house smell wonderful while it's cooking, which is always a bonus.

This version uses simple ingredients, doesn't require anything particularly fancy, and makes enough for leftovers. Because if I'm going to spend time making soup, I'd prefer not to have to cook again the next day.

Creamy Chicken & Wild Rice Soup

Servings: 6–8
Prep Time: 15 minutes
Cook Time: 50–60 minutes
Total Time: Approximately 1 hour 15 minutes

Ingredients

  • 2 tablespoons butter

  • 1 tablespoon olive oil

  • 1 medium yellow onion, diced

  • 3 medium carrots, peeled and diced

  • 3 celery stalks, diced

  • 3 cloves garlic, minced

  • 1 teaspoon dried thyme

  • 1 teaspoon dried rosemary

  • ½ teaspoon dried sage

  • ½ teaspoon black pepper

  • ½ teaspoon salt, plus more to taste

  • ¾ cup uncooked wild rice blend (not instant)

  • 6 cups chicken broth, preferably low sodium

  • 2 cups cooked, shredded chicken (rotisserie chicken works beautifully)

  • ¼ cup all-purpose flour

  • 1 cup whole milk

  • 1 cup heavy cream

  • 1 tablespoon fresh lemon juice (optional)

  • Fresh parsley, for serving

Instructions

1. Start with the vegetables.

In a large Dutch oven or heavy-bottomed pot, heat 1 tablespoon of butter and the olive oil over medium heat. Add the diced onion, carrots, and celery. Cook for approximately 6–8 minutes, stirring occasionally, until the vegetables begin to soften.

Add the garlic, thyme, rosemary, sage, salt, and pepper. Stir for another minute until everything smells wonderful.

2. Add the rice and broth.

Pour in the chicken broth and add the uncooked wild rice blend. Give everything a good stir, bring the soup to a gentle boil, then reduce the heat to low.

Cover and simmer for approximately 40–50 minutes, or until the rice is tender. Cooking times can vary depending on the blend you're using, so check the package and test the rice as it cooks.

3. Make it creamy.

Once the rice is tender, melt the remaining tablespoon of butter in a small saucepan over medium-low heat. Whisk in the flour and cook for about one minute, stirring constantly.

Slowly add the milk, whisking until smooth, then add the cream. Continue stirring for 3–5 minutes until the mixture begins to thicken slightly.

4. Bring everything together.

Pour the creamy mixture into the soup pot and stir well. Add the shredded chicken and simmer gently for another 5–10 minutes, until the chicken is heated through and the soup has thickened.

If the soup becomes too thick, add a little extra chicken broth until it reaches your preferred consistency.

Taste and adjust the seasoning. A small squeeze of fresh lemon juice at the end helps brighten everything up.

5. Serve and enjoy.

Ladle into bowls, sprinkle with fresh parsley, and serve with crusty bread or warm dinner rolls.

And if you're anything like me, make sure there's enough bread to soak up the last little bit at the bottom of the bowl.

A Few Helpful Tips

Make it even easier: A store-bought rotisserie chicken is perfect for this recipe. It saves time, adds great flavour, and means one less thing to cook.

Want more vegetables? Mushrooms are a lovely addition. Slice them and cook them with the onions, carrots, and celery. You can also stir in a handful of spinach toward the end.

Prefer a lighter soup? Replace the heavy cream with additional whole milk. The soup won't be quite as rich, but it'll still be delicious.

Using a different rice? Wild rice blends vary quite a bit in cooking time and how much liquid they absorb. Avoid instant rice for this version, and adjust the simmering time as needed.

Storing Leftovers

This soup keeps well in an airtight container in the refrigerator for up to 3–4 days. The rice will continue absorbing liquid as it sits, so you'll likely need to add a splash of broth or milk when reheating.

Warm it gently on the stove over medium-low heat, stirring occasionally, until heated through.

If you're planning to freeze it, I'd recommend freezing the soup before adding the milk and cream. Dairy-based soups can sometimes separate when thawed, so adding the creamy ingredients fresh gives you a better result.

The Best Part About Soup Season

I love meals that don't require a complicated plan, an overflowing grocery cart, or an entire evening in the kitchen.

A pot of soup simmering on the stove, some good bread, and everyone finding their way to the table is pretty much my idea of a perfect fall dinner.

And if there's enough left for lunch tomorrow? Even better.

Enjoy!

Read

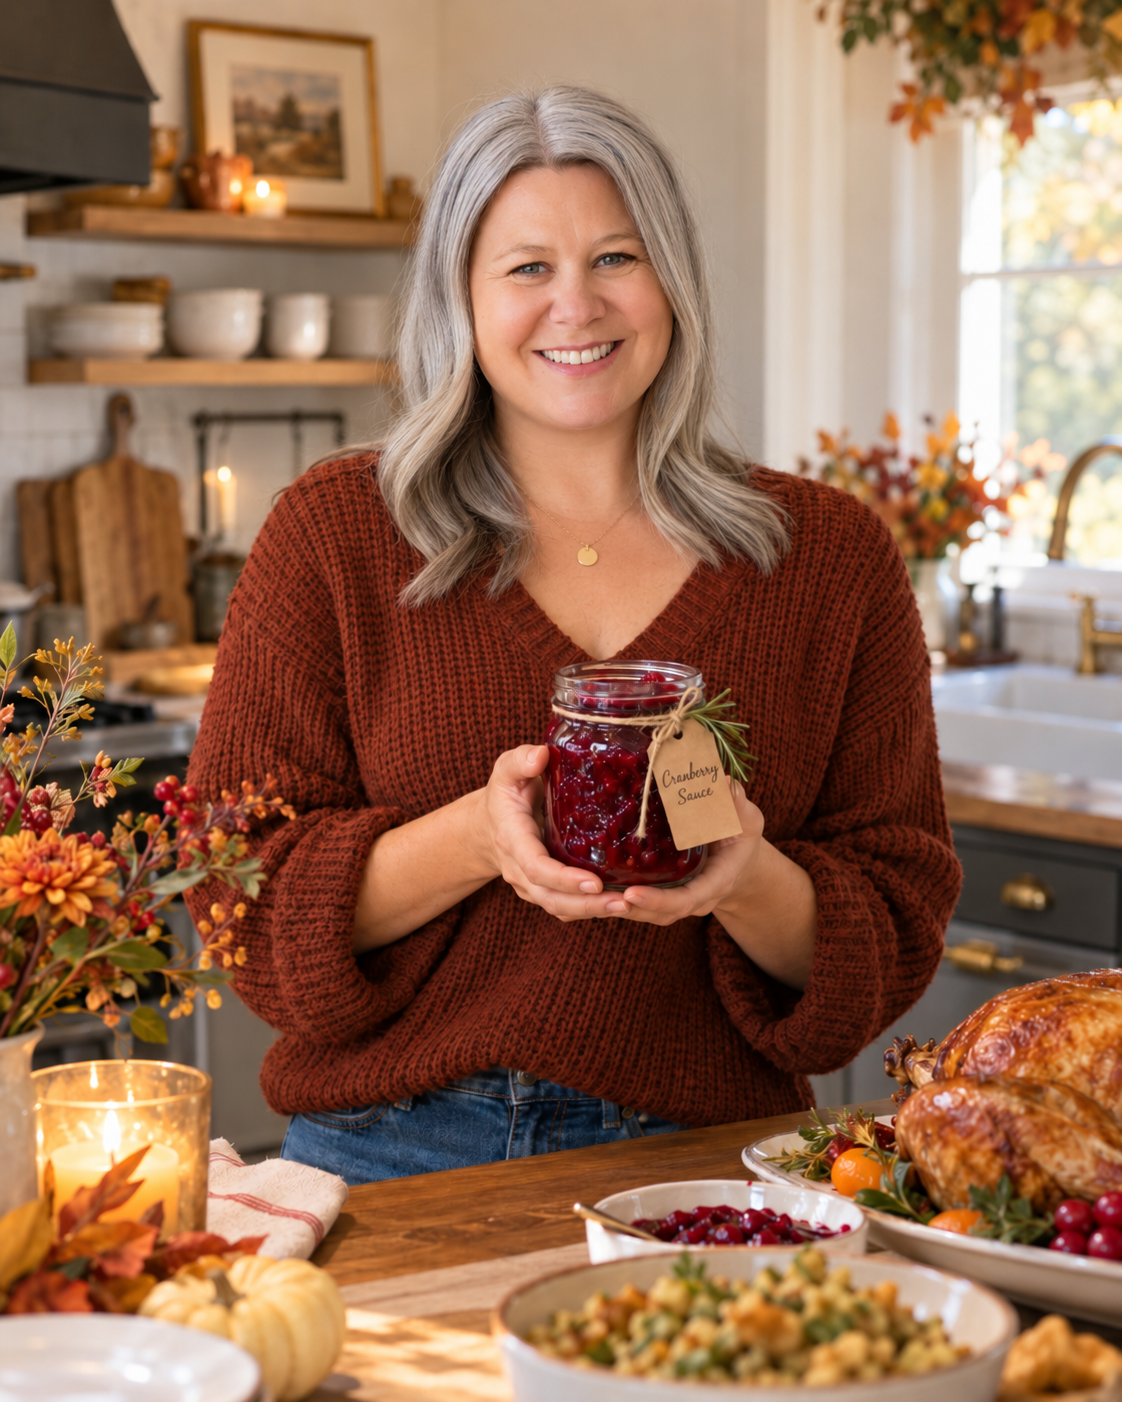
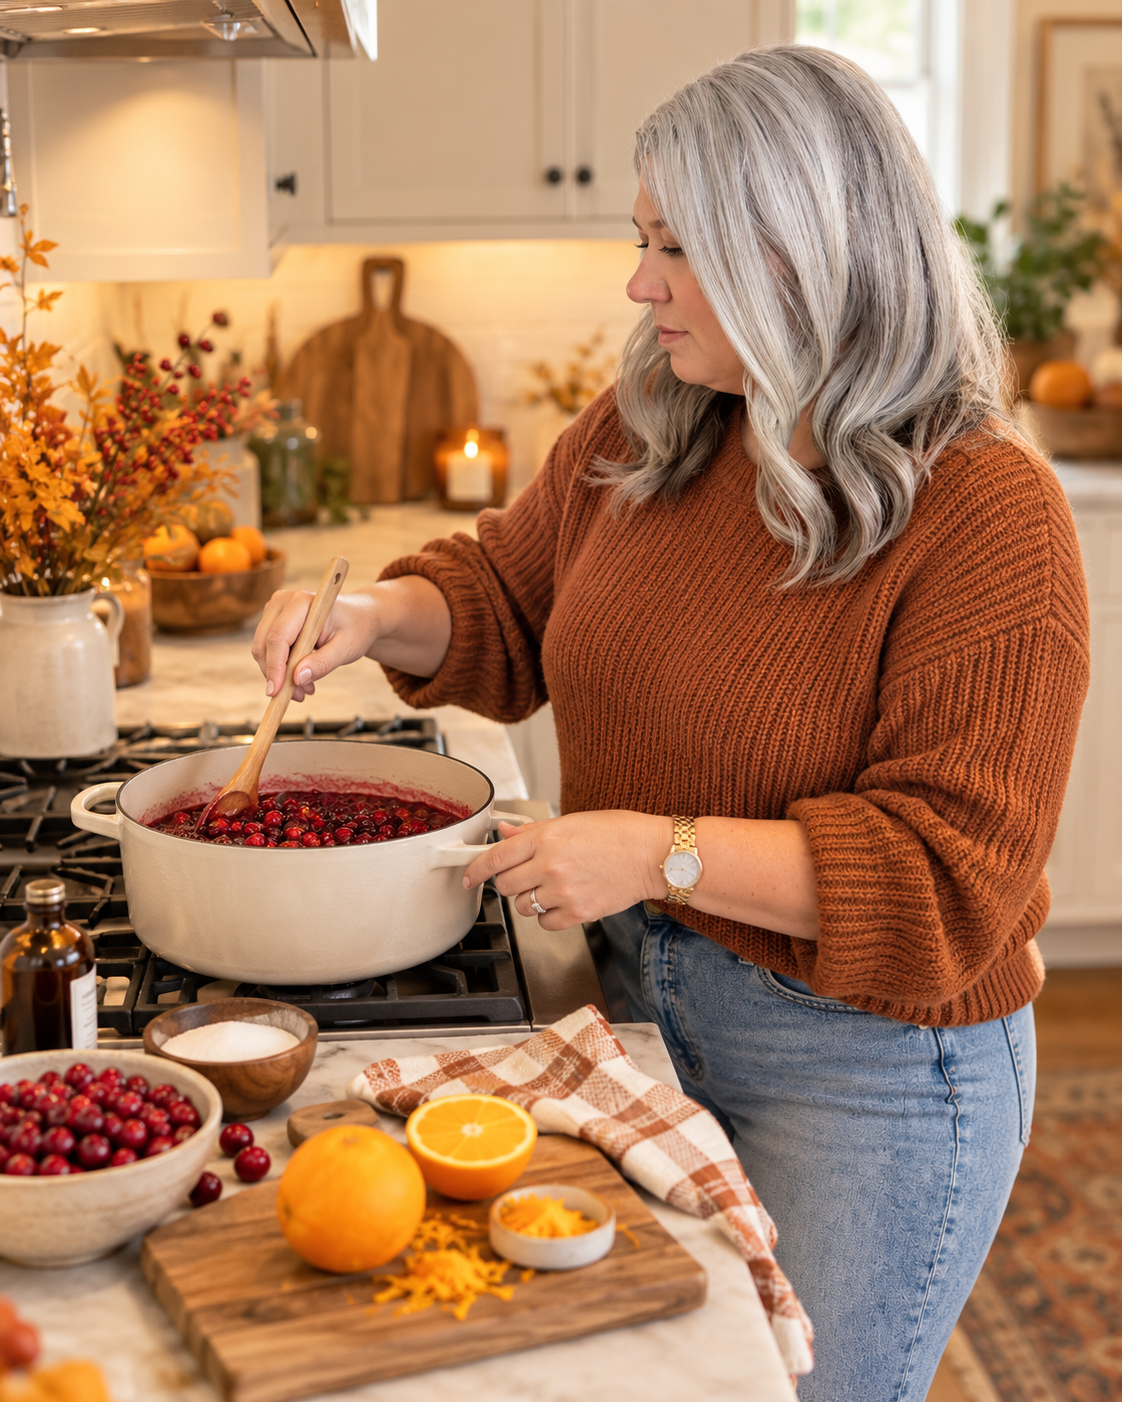
Cranberry Orange Sauce with a Little Something Special

Homemade cranberry sauce is one of those things that’s incredibly easy to make, but tastes so much better than anything from a can. This version is bright, tart, just sweet enough, and has a little extra something that makes people ask what’s in it.

Ingredients

• 1 bag fresh cranberries, about 340 g
• 1 cup granulated sugar
• 1/2 cup orange juice
• 1/2 cup water
• Zest of 1 orange
• 1/2 teaspoon cinnamon
• Pinch of salt
• 2 tablespoons orange liqueur, such as Grand Marnier or Cointreau

Directions

Add the cranberries, sugar, orange juice, water, orange zest, cinnamon and salt to a saucepan.

Bring to a gentle boil over medium heat, then reduce the heat and simmer for about 10 to 12 minutes. The cranberries will begin to burst and the sauce will thicken as it cooks.

Remove from the heat and stir in the orange liqueur. Let the sauce cool completely before serving. It will continue to thicken as it cools.

You can make it a day or two ahead and keep it covered in the refrigerator.

The Special Ingredient

The orange liqueur is what gives this cranberry sauce that extra little layer of flavour. It brings out the citrus, softens the tartness of the cranberries and makes the whole thing taste just a little more special.

It’s the kind of recipe that still tastes like traditional Thanksgiving cranberry sauce, just better.

Read

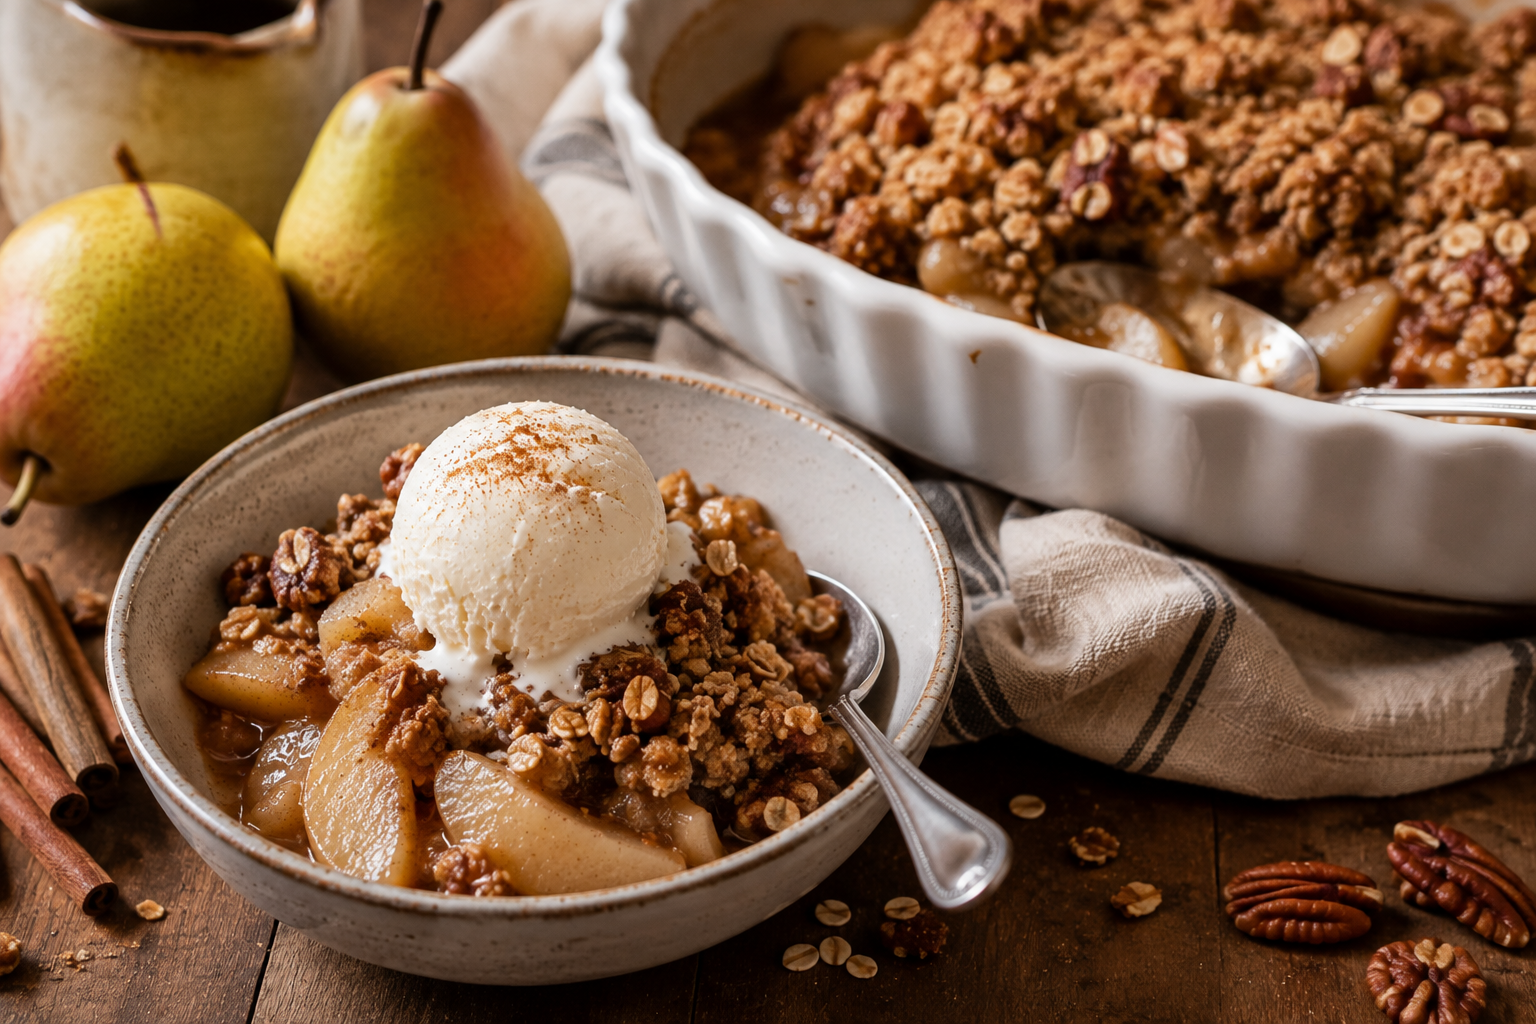
Warm Pear & Cinnamon Crumble

September desserts should feel a little like fall without going completely overboard.

We're not quite at pumpkin-everything season, but cooler evenings definitely make turning the oven on sound good again. This Warm Pear & Cinnamon Crumble sits perfectly somewhere in between.

The pears get soft and caramelized, the topping gets buttery and crisp, and the cinnamon makes the whole house smell like you've put significantly more effort into dessert than you actually have.

And obviously, it should be served warm with vanilla ice cream.


Warm Pear & Cinnamon Crumble

Serves 6

Ingredients

For the Pear Filling:

  • 5–6 ripe but firm pears, peeled and sliced

  • 2 tbsp brown sugar

  • 1 tbsp maple syrup

  • 1 tbsp lemon juice

  • 1 tsp cinnamon

  • ½ tsp vanilla

  • Pinch of salt

For the Crumble:

  • ¾ cup rolled oats

  • ½ cup flour

  • ½ cup brown sugar

  • ½ tsp cinnamon

  • ½ cup cold butter, cubed

  • ½ cup chopped pecans, optional

Directions

Preheat your oven to 375°F and lightly butter a baking dish.

Toss the sliced pears with the brown sugar, maple syrup, lemon juice, cinnamon, vanilla and a pinch of salt. Spread them evenly in the baking dish.

In a separate bowl, combine the oats, flour, brown sugar and cinnamon. Add the cold butter and work it into the mixture with your fingers until you have a coarse, crumbly texture. Stir in the pecans if you're using them.

Scatter the crumble generously over the pears.

Bake for 35–40 minutes, until the pears are bubbling around the edges and the topping is golden and crisp.

Let it sit for a few minutes before serving, mostly so you don't immediately burn your mouth.

Spoon it into bowls while it's still warm and add a scoop of vanilla ice cream on top.

Simple, cozy and just fall enough for September.

Read

Maple Dijon Chicken & Apples: A September Supper

September is when I start wanting dinner to feel like dinner again.

Summer meals are great, but they're often a little thrown together — something on the BBQ, a salad, whatever is easy between plans. Once the evenings start getting cooler, I'm ready to turn the oven back on and make something that feels a little more like everyone should actually sit down at the table.

This Maple Dijon Chicken & Apples is exactly that kind of meal.

It's cozy without being heavy, the apples give it just enough fall flavour, and everything cooks together on one pan, which is really the kind of September reset I can get behind.


Maple Dijon Chicken & Apples

Serves 4

Ingredients

  • 4 boneless chicken breasts or 6 boneless chicken thighs

  • 1½ lbs baby potatoes, halved

  • 2 crisp apples, cut into wedges

  • 1 small red onion, cut into wedges

  • 2 tbsp olive oil

  • Salt and pepper

  • Fresh thyme or rosemary

For the Maple Dijon Sauce:

  • 3 tbsp Dijon mustard

  • 3 tbsp maple syrup

  • 2 tbsp olive oil

  • 1 tbsp apple cider vinegar

  • 2 cloves garlic, minced

  • Salt and pepper

Directions

Preheat your oven to 425°F.

Toss the potatoes and red onion with olive oil, salt and pepper. Spread them on a large sheet pan and roast for about 15 minutes.

While they're cooking, whisk together the Dijon mustard, maple syrup, olive oil, apple cider vinegar and garlic.

Remove the pan from the oven and add the chicken and apple wedges. Spoon the Maple Dijon sauce generously over the chicken and toss the potatoes and apples lightly in any extra sauce.

Return everything to the oven for another 20–25 minutes, or until the chicken reaches an internal temperature of 165°F and the potatoes are tender.

Finish with fresh thyme or rosemary and serve straight from the pan.

Add a simple green salad and some crusty bread if you want to round it out.

It's warm, a little sweet, a little savoury and exactly the kind of supper that makes a cooler September evening feel pretty good.

Maybe fall isn't so bad after all.

Read

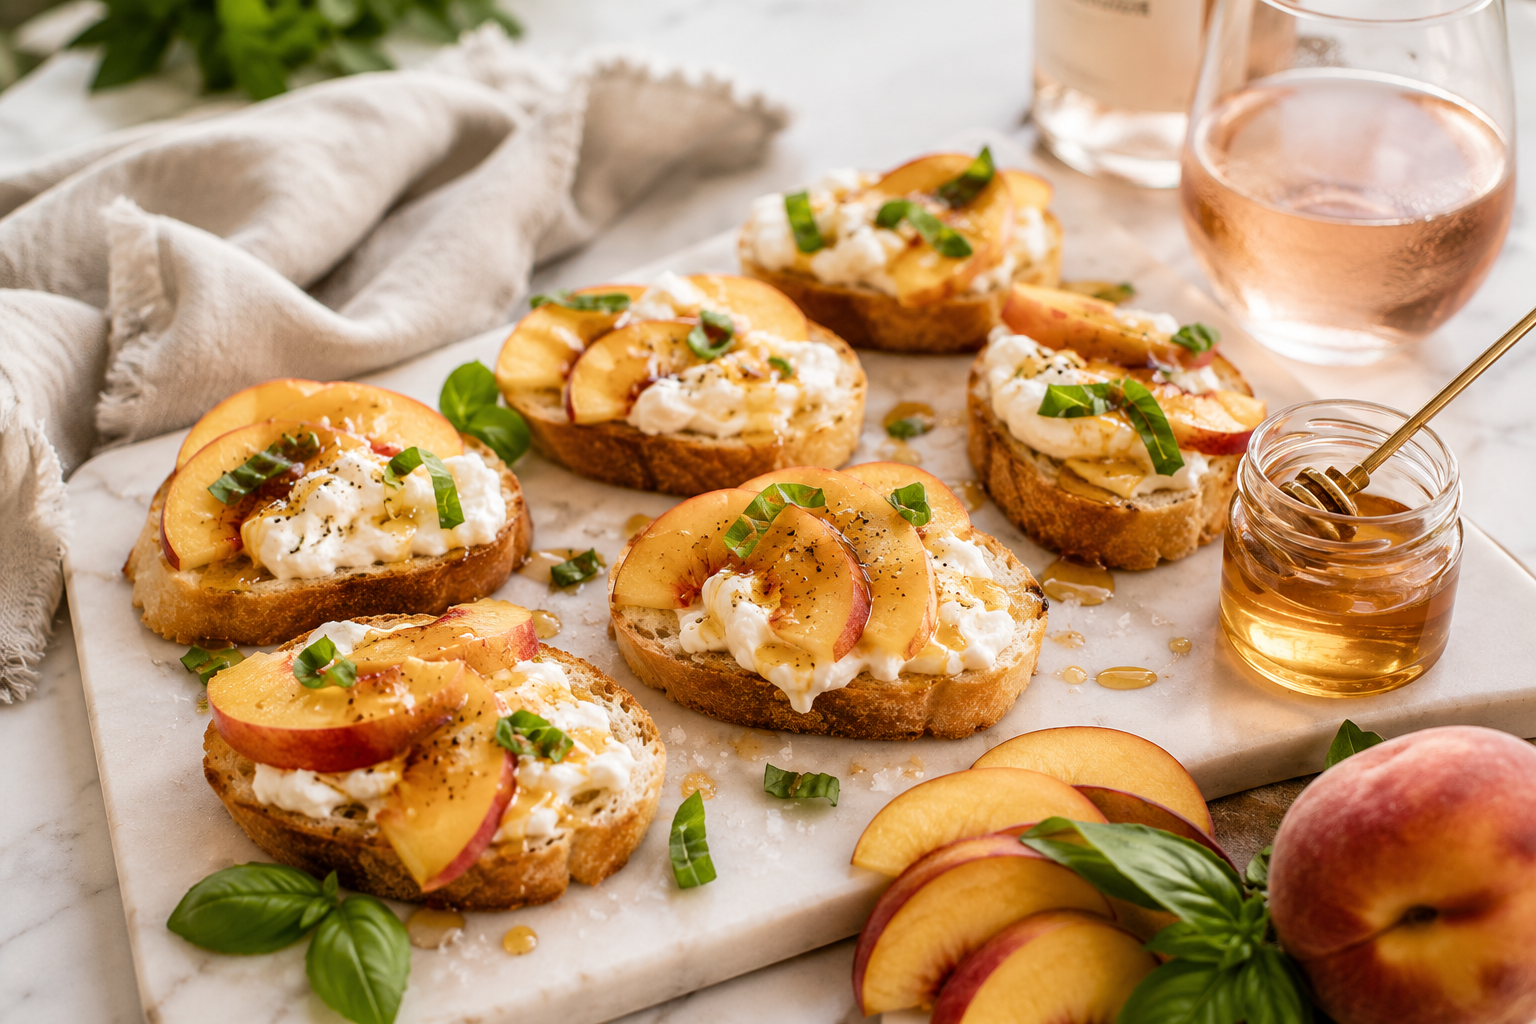
Peach Burrata Crostini with Hot Honey

There's something about August that calls for simple recipes made with fresh, seasonal ingredients. Whether you're hosting friends on the patio or enjoying a quiet evening with a good book, these crostini come together in minutes and feel just a little bit special.

Ingredients

  • 1 baguette, sliced into ½-inch rounds

  • 2 tbsp extra virgin olive oil

  • 1 ball (8 oz) burrata cheese

  • 2 ripe peaches, thinly sliced

  • 2–3 tbsp hot honey

  • Fresh basil leaves

  • Flaky sea salt

  • Freshly cracked black pepper

Directions

  1. Preheat your oven to 400°F (200°C).

  2. Arrange the baguette slices on a baking sheet and brush both sides lightly with olive oil.

  3. Bake for 8 to 10 minutes, flipping halfway through, until golden and crisp.

  4. Tear the burrata into pieces and spread onto each crostini.

  5. Top with a few slices of fresh peach.

  6. Drizzle generously with hot honey.

  7. Finish with torn basil, a sprinkle of flaky sea salt, and freshly cracked black pepper.

Serve immediately while the crostini are still warm.

Read
Data is supplied by Pillar 9™ MLS® System. Pillar 9™ is the owner of the copyright in its MLS®System. Data is deemed reliable but is not guaranteed accurate by Pillar 9™.
The trademarks MLS®, Multiple Listing Service® and the associated logos are owned by The Canadian Real Estate Association (CREA) and identify the quality of services provided by real estate professionals who are members of CREA. Used under license.